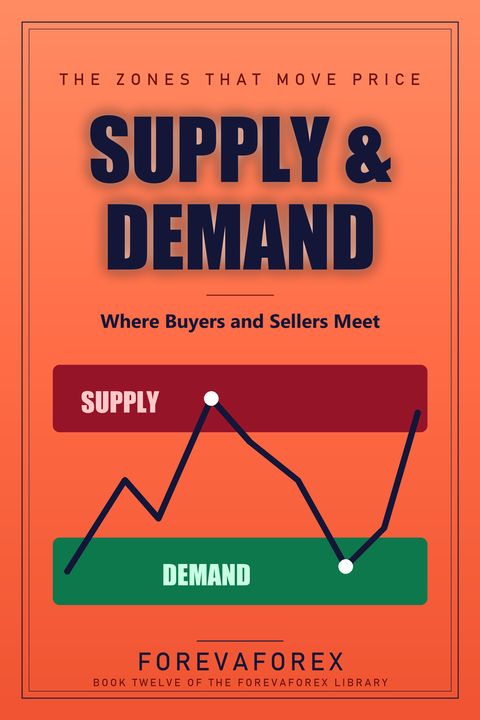
Supply & Demand
The zones that move price: how to find, grade and refine supply and demand zones, and how to trade them with confirmation and defined risk.
Zones give you precise areas to watch, with tight stops and clear targets. You learn to separate strong zones from weak ones and avoid a cluttered chart.
What is inside (18 lessons)
| 01 | The Zones Explained | 6 lessons |
| 02 | Building And Refining Zones | 6 lessons |
| 03 | Trading The Zones | 6 lessons |
Free sample lesson: What Are Supply and Demand?
Prices are set by a very old process: buyers and sellers meeting at a price. Supply is the amount of a currency that sellers are willing to sell at a given price. Demand is the amount that buyers are willing to buy. When the two are roughly in balance, price drifts sideways. When one side is much larger than the other at a particular price, price moves until balance returns.
Supply and demand trading takes this idea and turns it into chart reading. Instead of drawing single lines, you look for areas where the balance broke sharply. Those areas matter because the orders that caused the break may not all have been filled, and the market has a habit of remembering them.
There are three points to hold onto. One, demand above supply lifts price. Two, supply above demand lowers price. Three, zones remember imbalance.
One: Demand Above Supply Lifts Price
When buyers outnumber sellers at a level, buying pressure uses up the available sellers and the next trades happen at higher prices. Price rises until it reaches a level where sellers are willing to supply enough to meet demand again. The rise is not magic. It is the market searching for balance.
Two: Supply Above Demand Lowers Price
When sellers outnumber buyers, the available buyers are used up and the next trades happen at lower prices. Price falls until it reaches a level where buyers are willing to purchase enough to meet the supply. Every fall, like every rise, is a search for balance.
Three: Zones Remember Imbalance
Areas where the balance broke sharply often remain important because unfilled orders may still wait there. A big participant who wanted to buy a large amount may only have been able to fill part of it before price jumped away. The rest of the order is still waiting. When price returns, there is fresh demand to meet it.
For example, price sits quietly near 1.0800 for several candles, then shoots upward and never looks back for 90 pips. That quiet area is a demand zone. Buyers there overwhelmed sellers so strongly that price left immediately. A trader who marks the zone and waits for price to come back, perhaps days later, is using the memory of that imbalance. When price does return to 1.0800 and reacts, it is not a coincidence. It is the unfinished buying that created the first move.
Nothing guarantees that the zone will hold. But it tells you where to pay attention.
The clue that a zone matters is how quickly price left it, which is the subject of the next lesson.
Keep reading Supply & Demand
Illustrated books, live tools and a practice hub. Free to start.